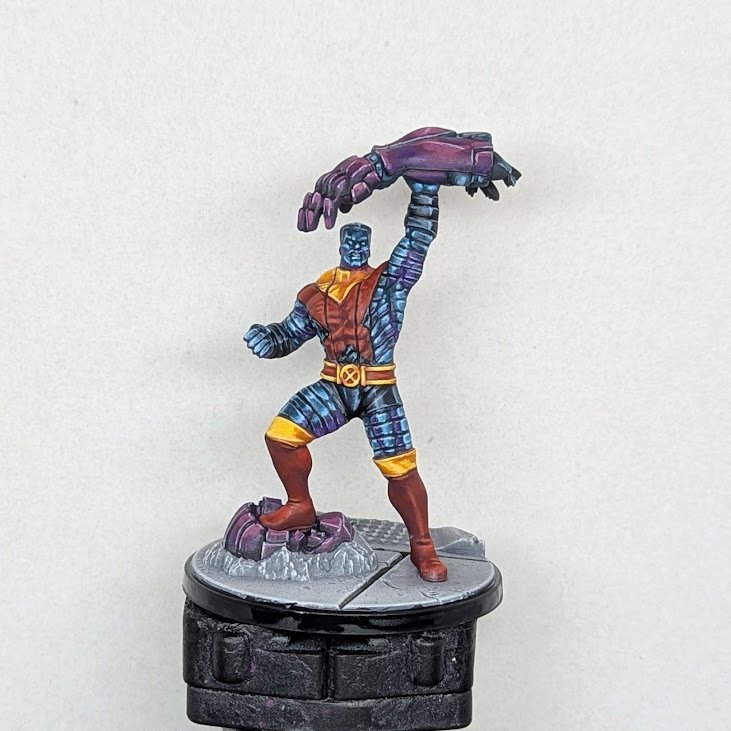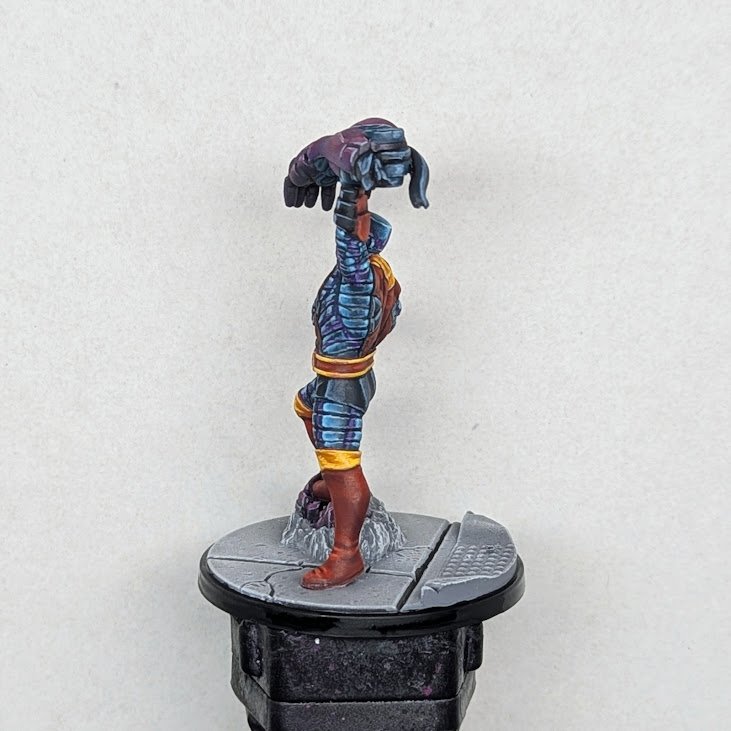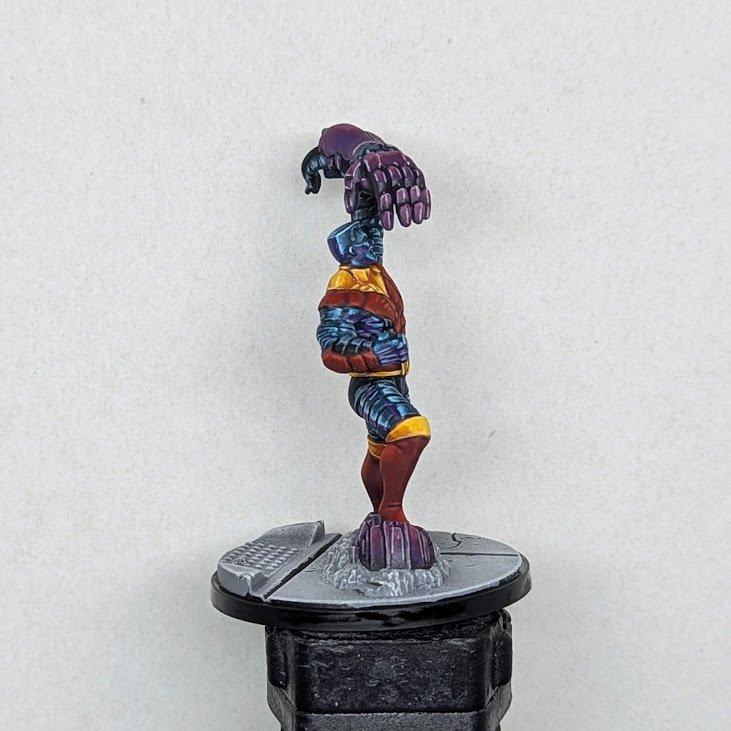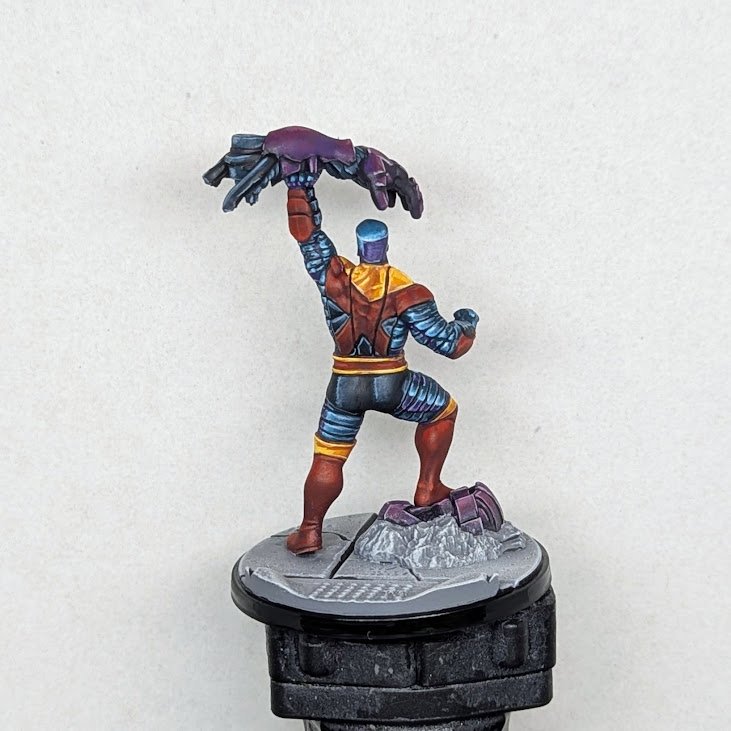
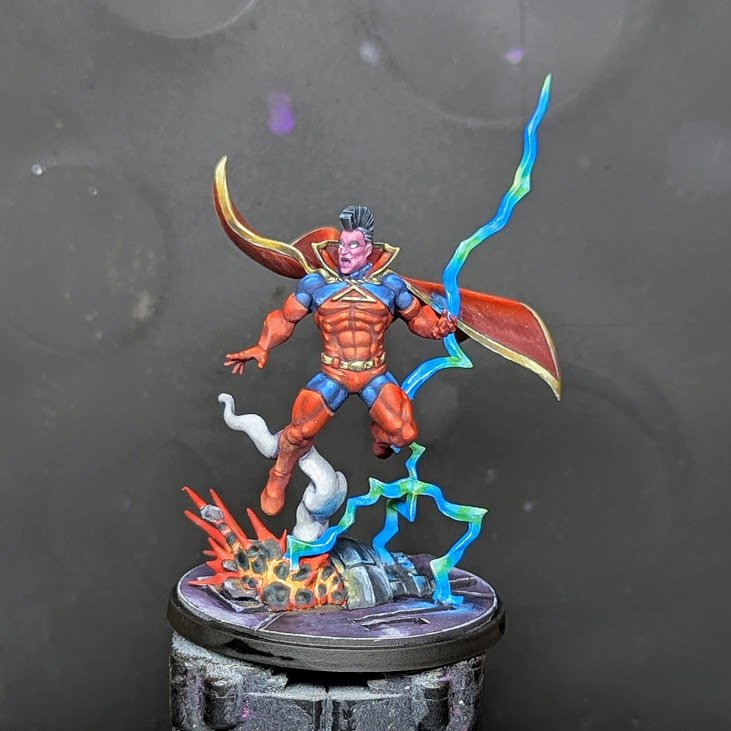

Three years ago, I picked up the Colossus and Magik box for Marvel Crisis Protocol. I painted Magik not too long after, but Colossus sat on my shelf unpainted forever because he was just never used in the game. Fast forward to a couple of rules updates and the release of Apocalypse, and suddenly the big shiny guy is finally seeing his day in the sun. As for what costume to use, I’ve been playing a bit of Marvel Strike Force lately, and his outfit in that game is a little different from any I’ve seen him wear in the comics or movies. Let’s give that a shot.
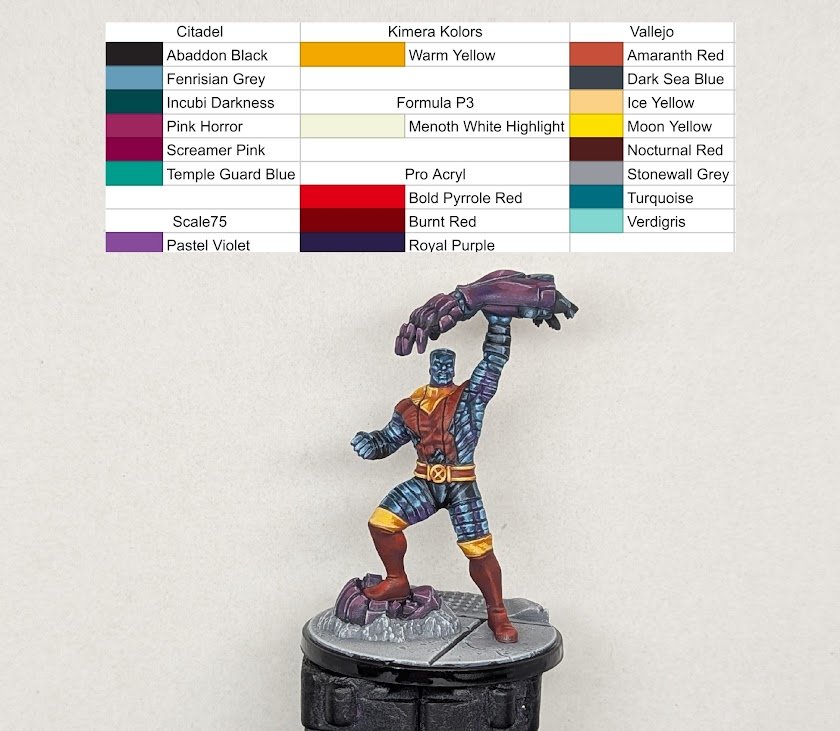
Base Colors
01
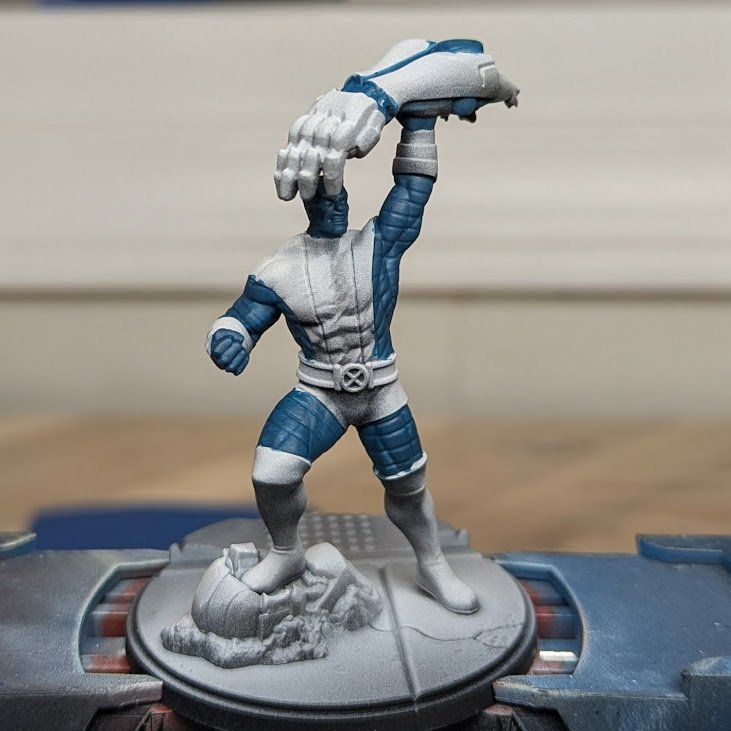
I began by painting all the areas of steel (both on Colossus and on the Sentinel arm he’s holding) in Incubi Darkness.
03
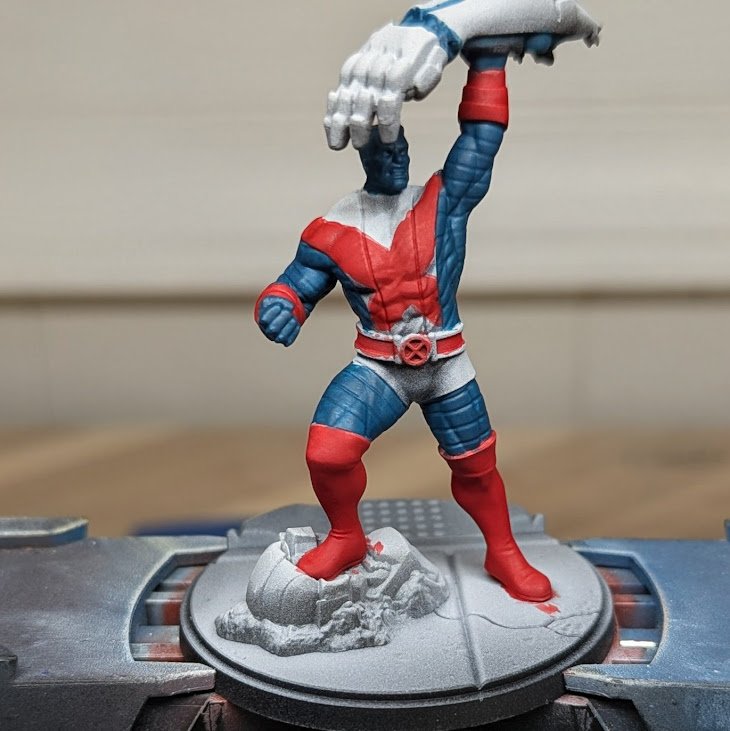
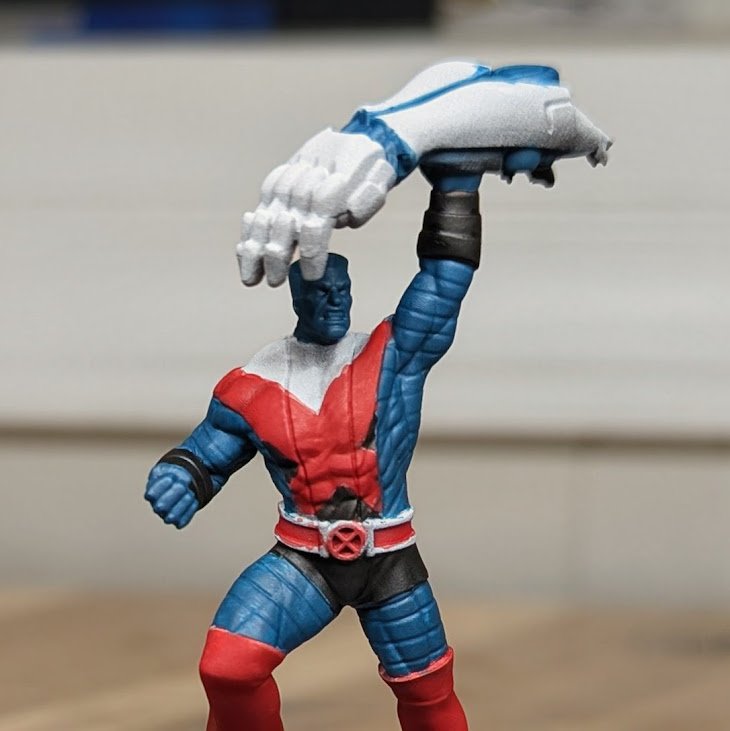
I then painted the boots, arm bands, and inner portion of the belt in Nocturnal Red. I also used this color to draw in a great big X on his chest and back.
04
Using Abaddon Black, I painted the shorts and the areas of the torso and back to the sides and bottom of the X. I also changed my mind about the arm bands here and painted them mostly in Abaddon Black, leaving the Nocturnal Red on the flat areas on the backs of the arm bands.
05
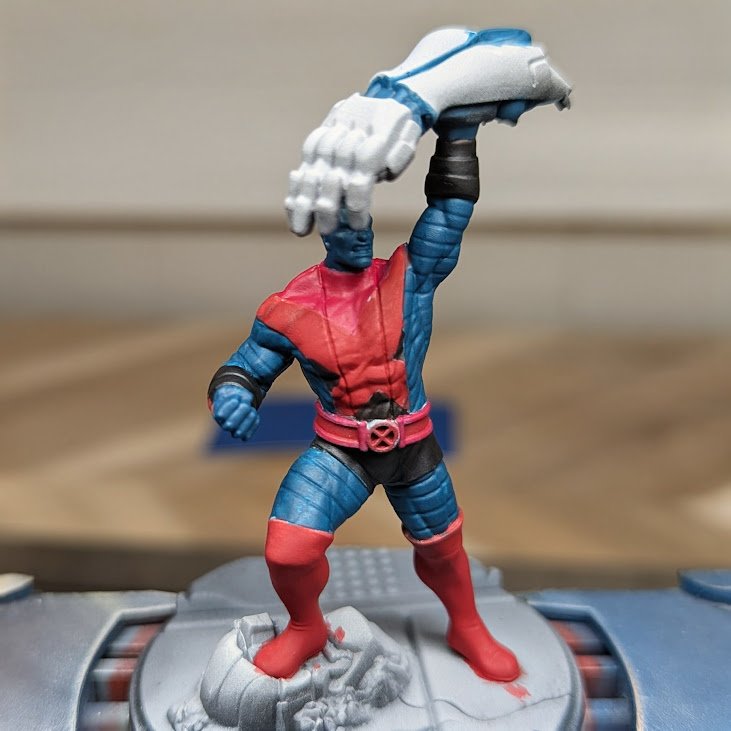
It may be hard to see, but the trim of the belt and the area around Piotr’s neck were painted in Screamer Pink. When I plan on painting something in a rich, vibrant yellow, I almost always start with pink as a base tone. Later in the guide I will paint over this in Pink Horror, which you can also do here instead of or in addition to the Screamer Pink.
06
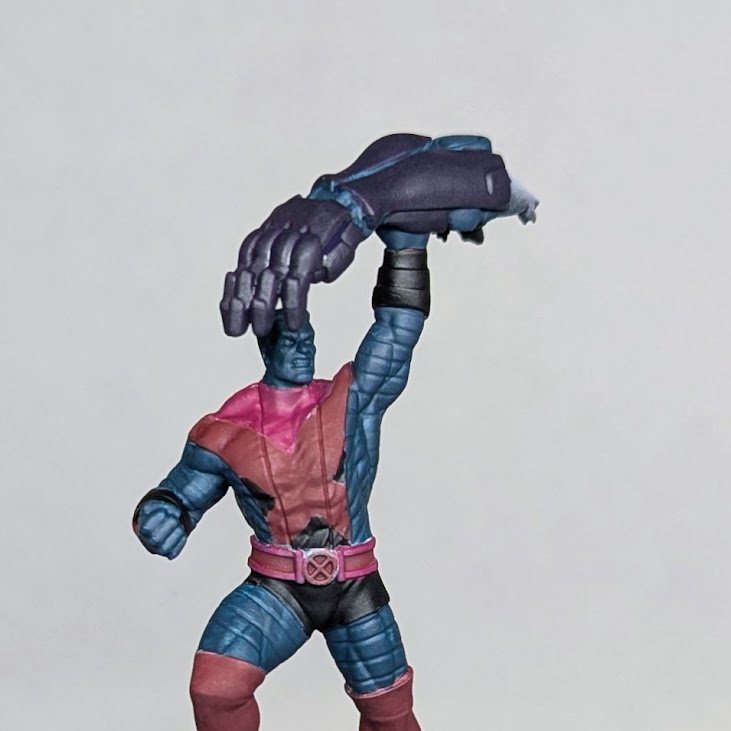
The armored portions of the Sentinel arm and the Sentinel head on the base got a dark purple coat made from roughly equal amounts of Abaddon Black and Royal Purple.
05
To wrap up the base colors, I painted the base with a mix of Abaddon Black and Stonewall Grey.
Painting the Steel Skin
p1
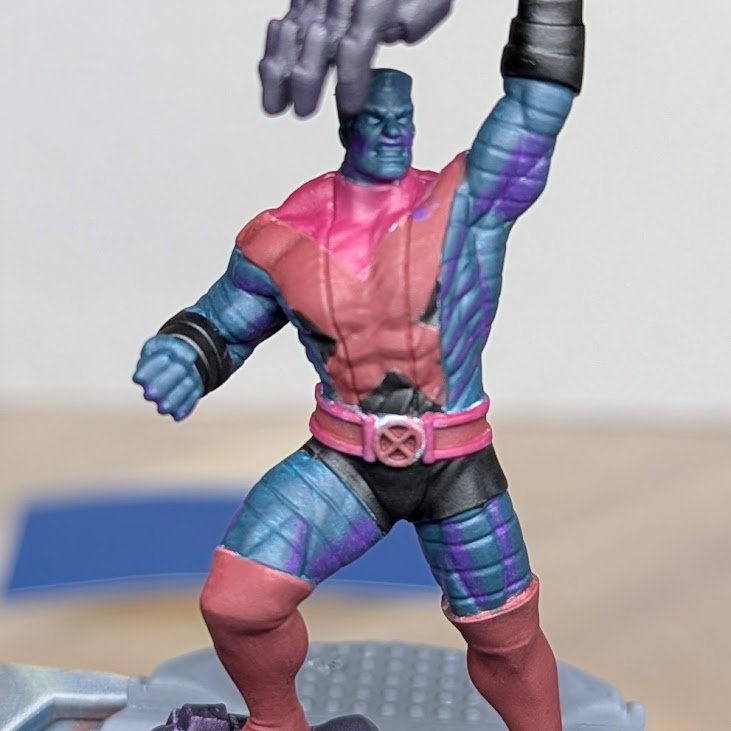
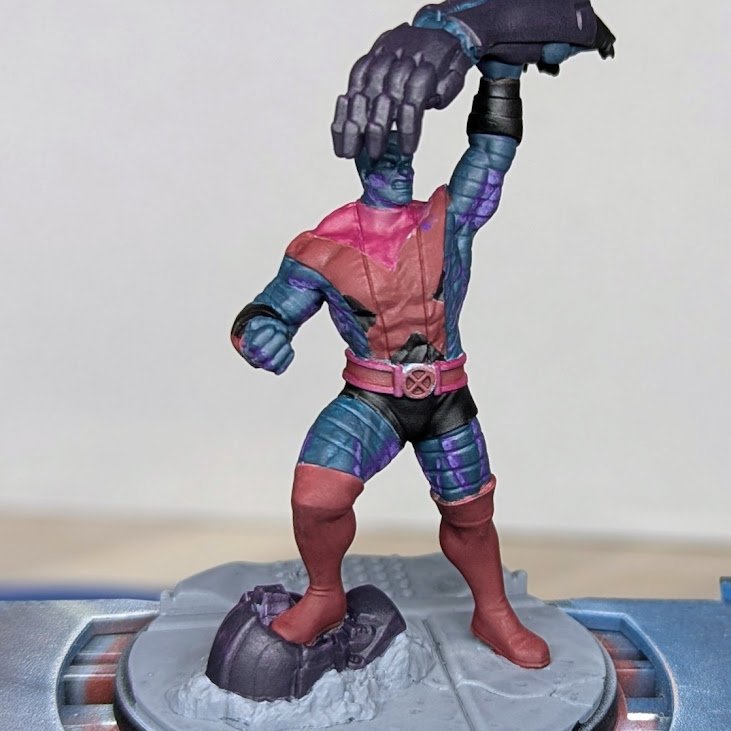
Since I want the metallic skin to look reflective, I started here by painting some Royal Purple into the shadowed areas, focusing mainly on the parts of the model that would be facing downward.
p2
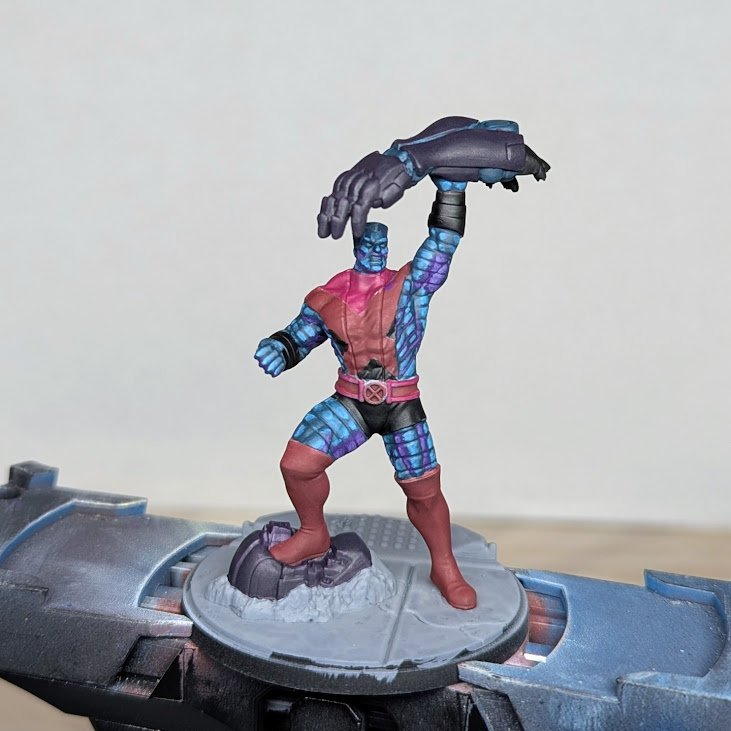
It’s a little counter-intuitive, but I took the lighter Pastel Violet and painted it into the deepest recesses of these areas.
p3
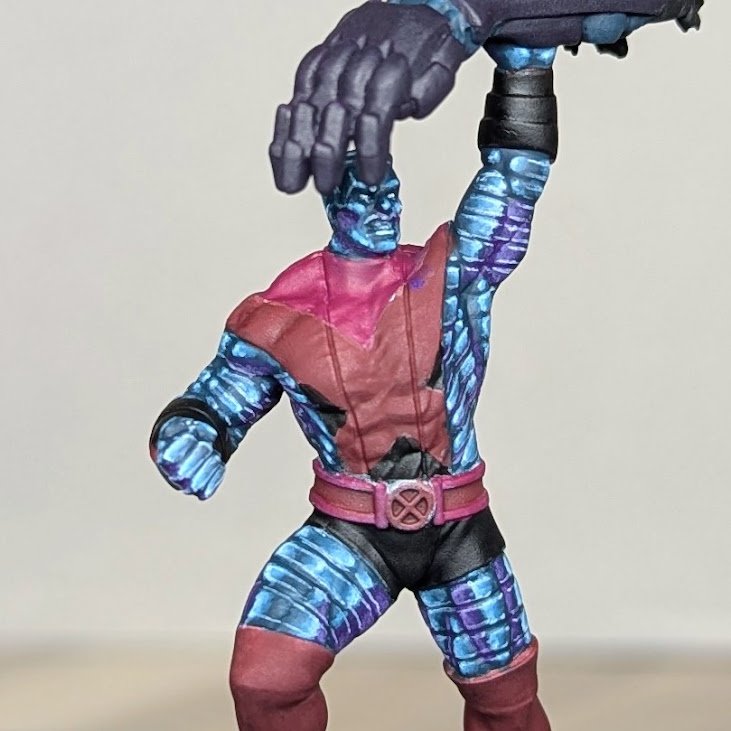
I then started highlighting the rest of the skin with Temple Guard Blue. I’m not worried about picking out the individual bands of steel here, as I know I’m going to apply some Hospitaller Black directly into those gaps later on. I’m just focused on getting a consistent line for the highlights.
p4
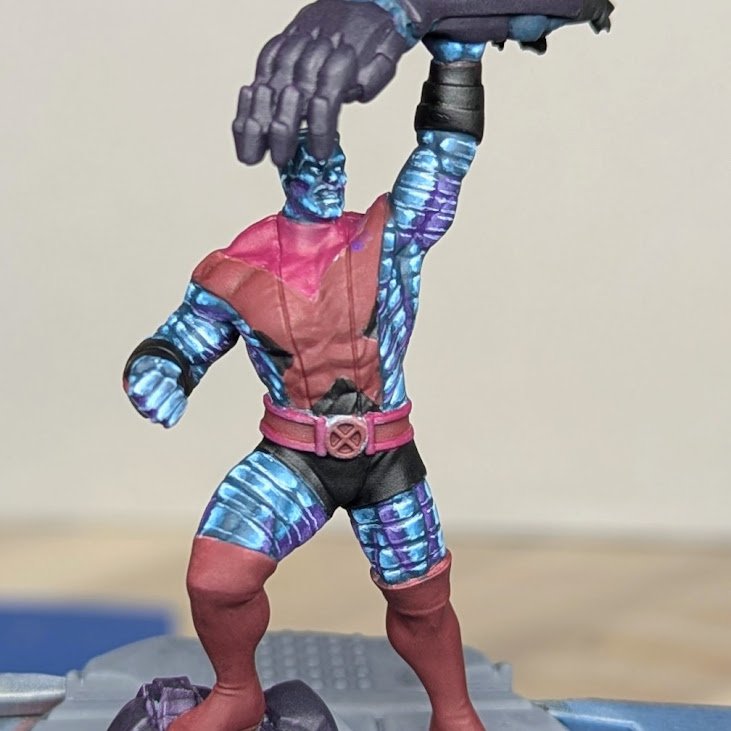
The skin next got a highlight of Verdigris, with the brightest highlights focused on the areas of the skin touching the Royal Purple. This contrast between the very bright teal and the very dark purple is what sells the effect of reflectivity. I also gave all of the metal bands an edge highlight with Verdigris.
p5
For the very brightest highlights, I went with Menoth White Highlight. I still have the old pots of P3 paints, but I keep hearing the new rereleased range is even better.
Painting the Costume
c1
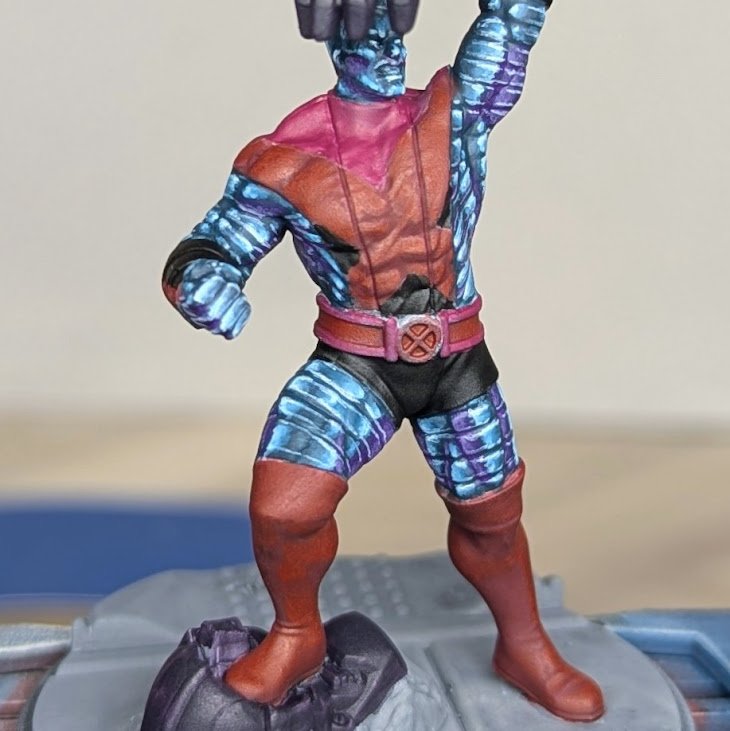
I began highlighting the red areas of the costume with Burnt Red, moving up in stages from Nocturnal Red.
c2
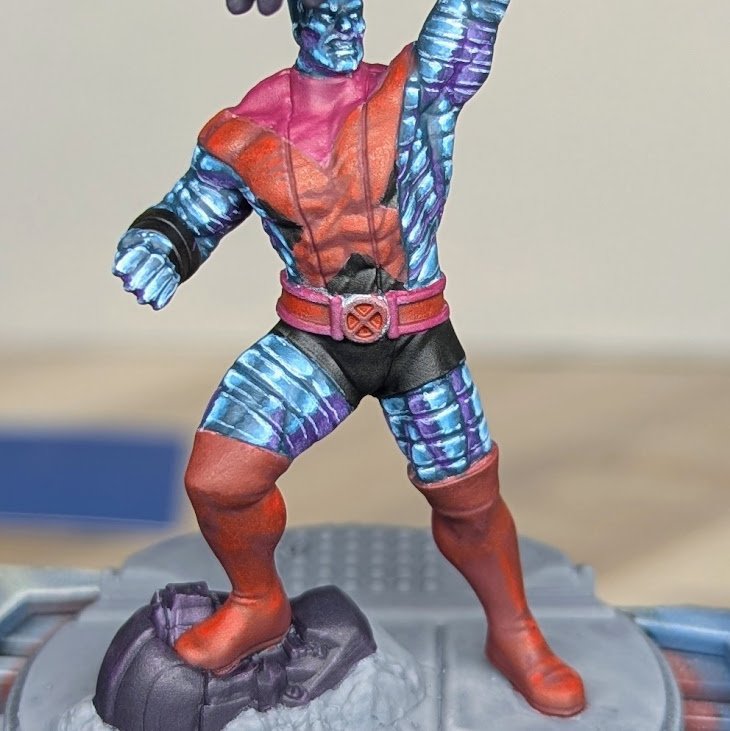
These red areas then got a broad highlight of Bold Pyrrole Red, again moving in increments by adding Bold Pyrrole Red to the Burnt Red in a couple of stages.
c3
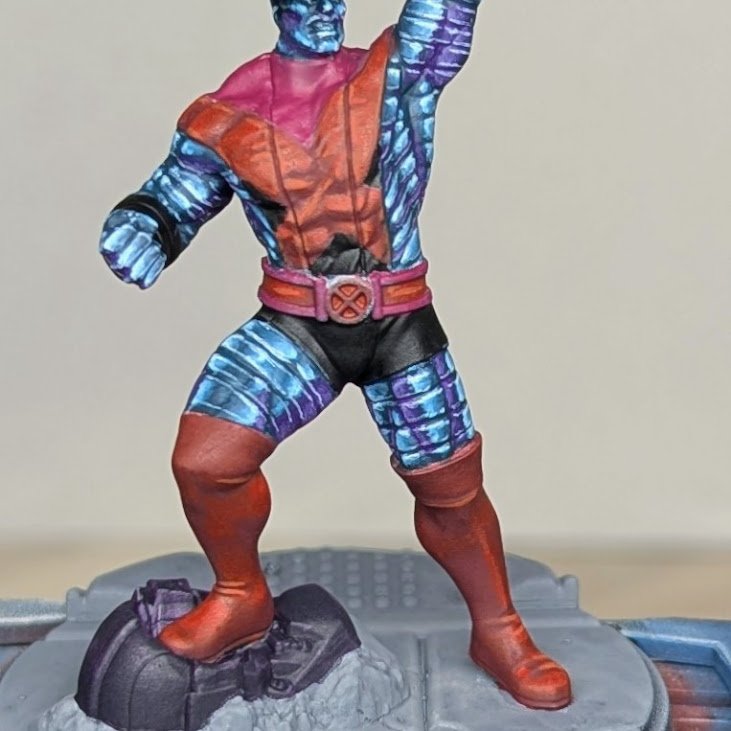
For the brightest red highlights, I painted up from Bold Pyrrole Red to Amaranth Red. If you feel you want these areas to have even brighter highlights, you might go up from here to AK Interactive Medium Orange or Vallejo Sunny Skin Tone.
c4
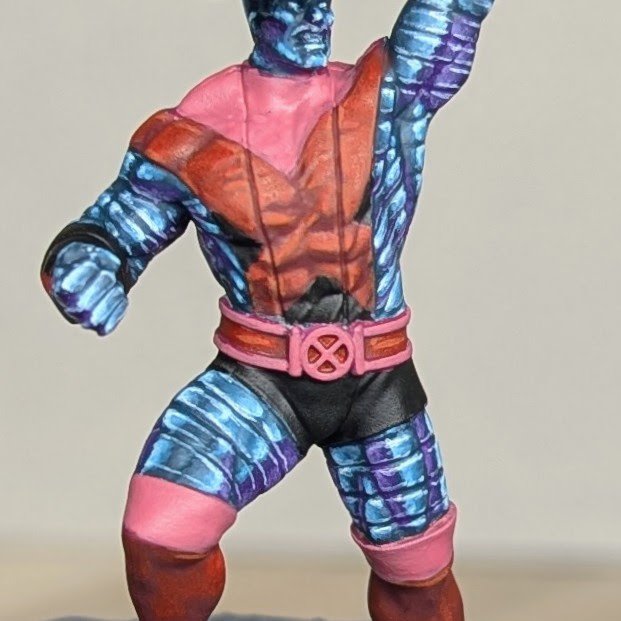
I did want the yellow areas to be very bright, so I painted a layer or two of Pink Horror over the Screamer Pink base I used before.
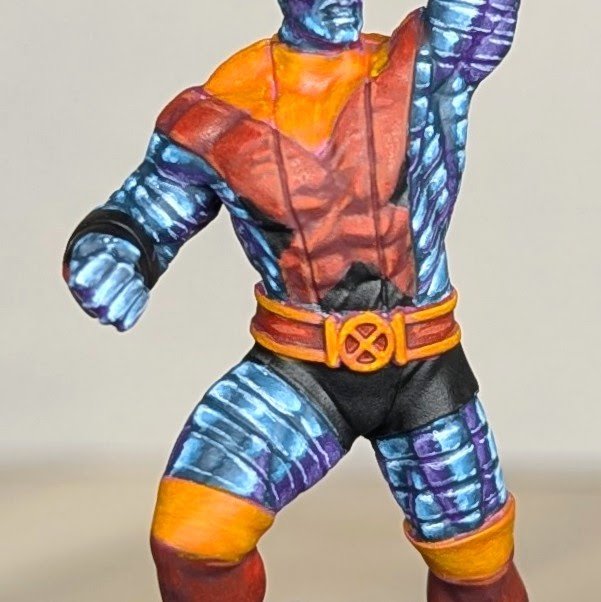
c5
Let’s get some yellow on this bad boy, starting with some Warm Yellow. Sine Kimera Kolors aren’t as readily available as other brands, you might decide to use something like Averland Sunset here instead.
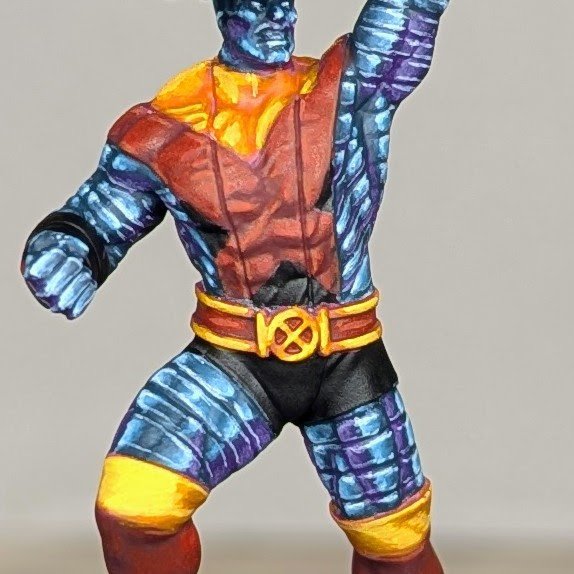
c6
Moving up from Warm Yellow, I highlighted the se yellow areas with Moon Yellow, one of my absolute favorite colors in my collection. It’s just so bright and vibrant.
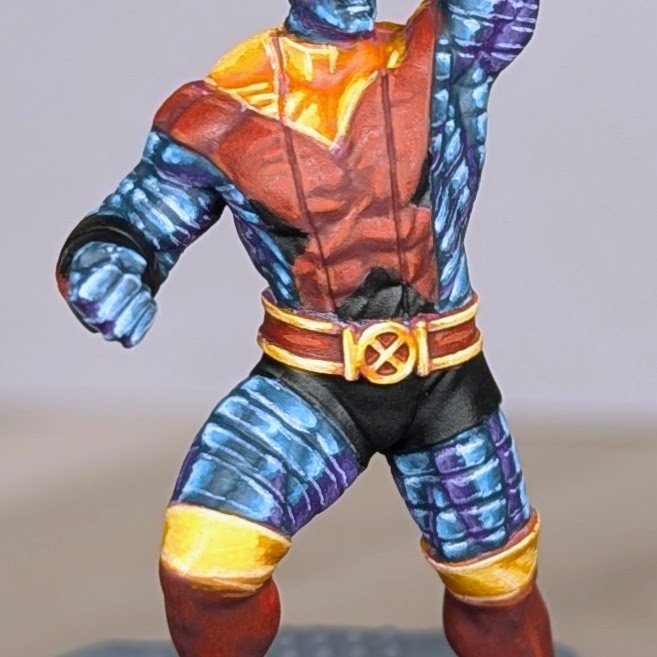
c7
I finished the yellow areas with a highlight of Ice Yellow. If you want a more metallic look to any of these areas, you might put a dot of Pro Acryl Bold Titanium White (or your preferred white paint) where you want your most extreme highlights.
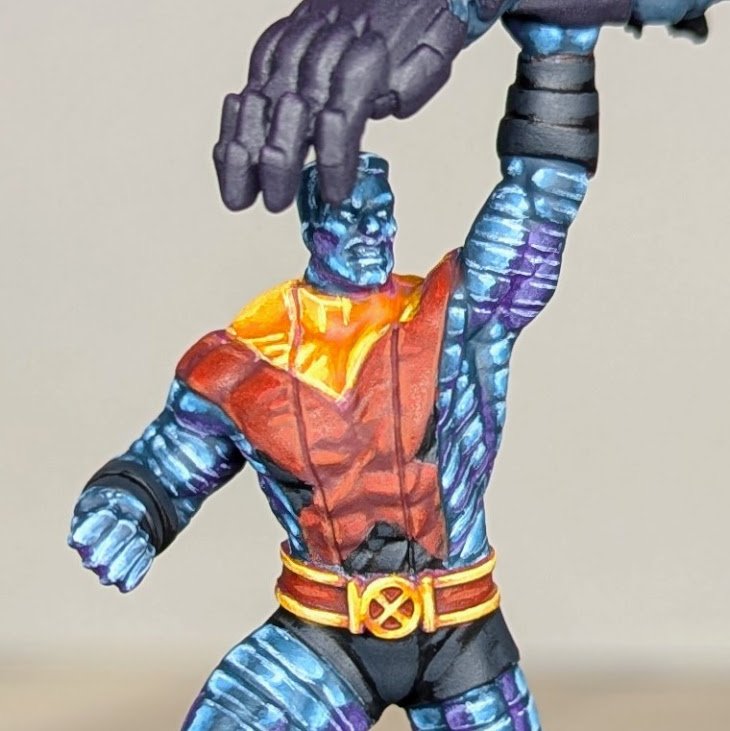
c8
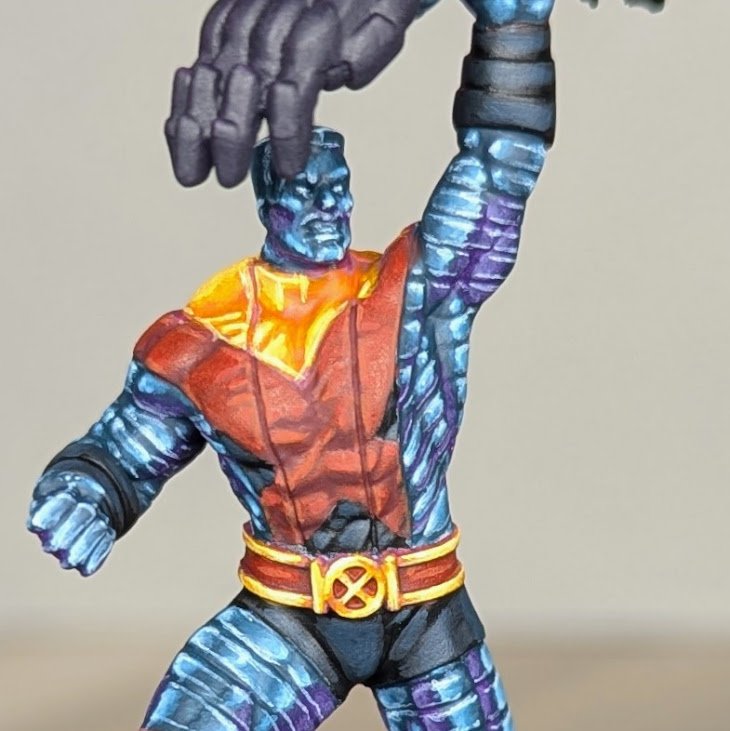
For the black shorts, arm bands, and small black areas of the top, I started highlighting with a mix of Abaddon Black and Dark Sea Blue.
c9
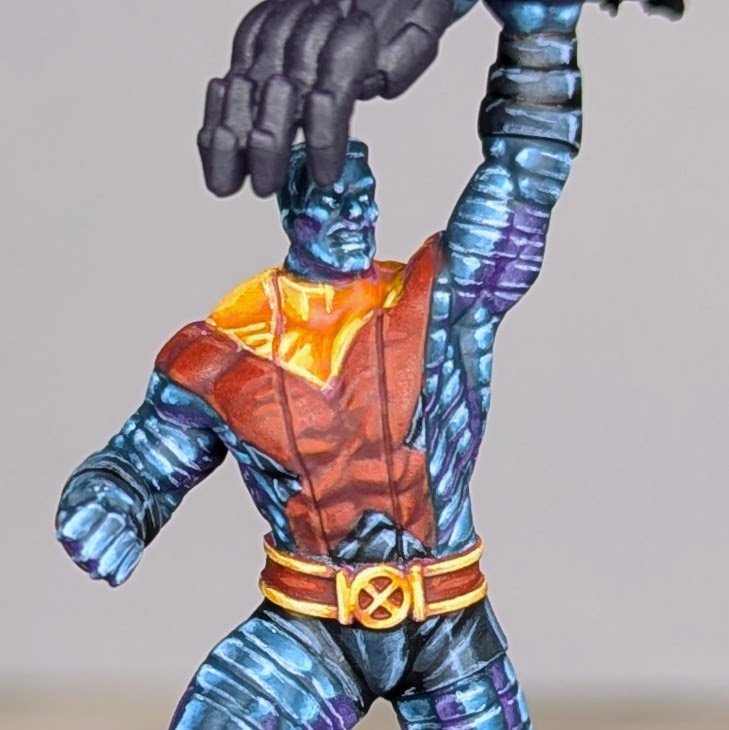
From there, I started highlighting the black areas with a mix of Abaddon Black and Turquoise.
c10
To finish off the black areas, I went with an edge highlight of Fenrisian Grey.
Painting the Sentinel Parts and Base
b1
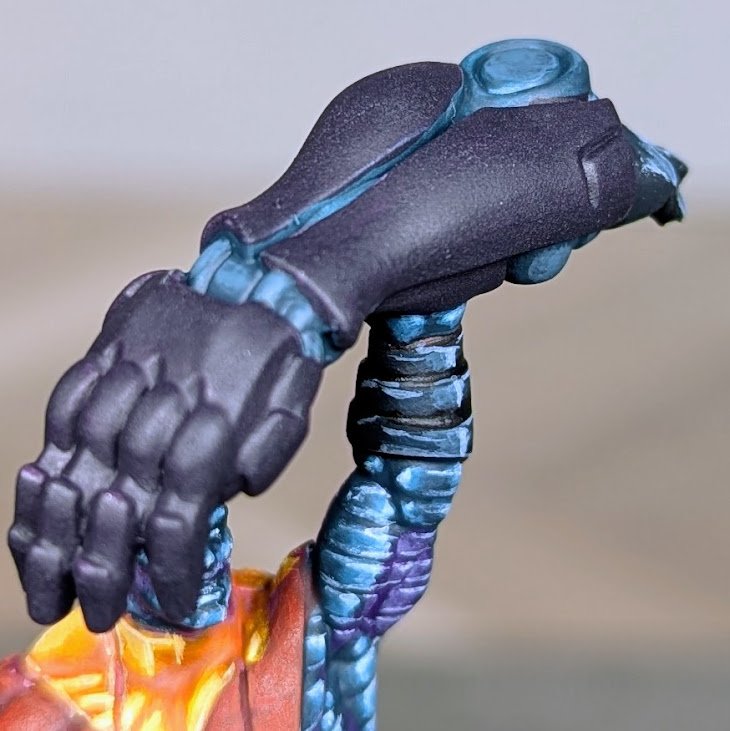
For the inner workings of the Sentinel arm, I wanted something similar to Colossus’s steel skin without making it the same. I added Thunderhawk Turquoise in a couple of stages to highlight these areas up from the Incubi Darkness.
b2
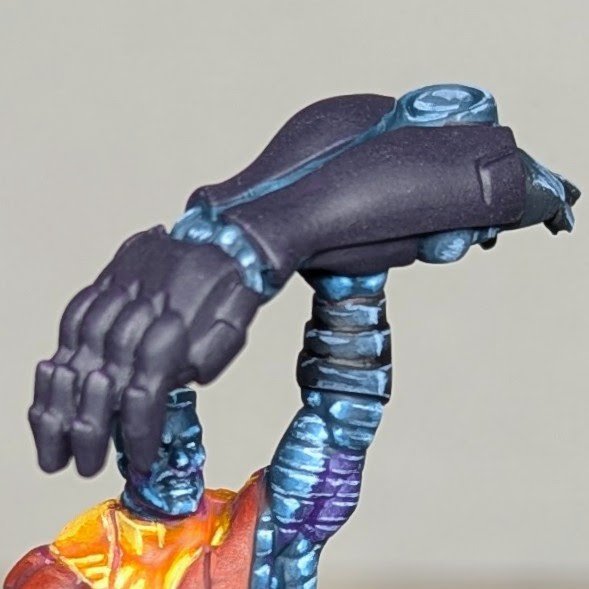
The brightest highlights here were done in Fenrisian Grey.
b3
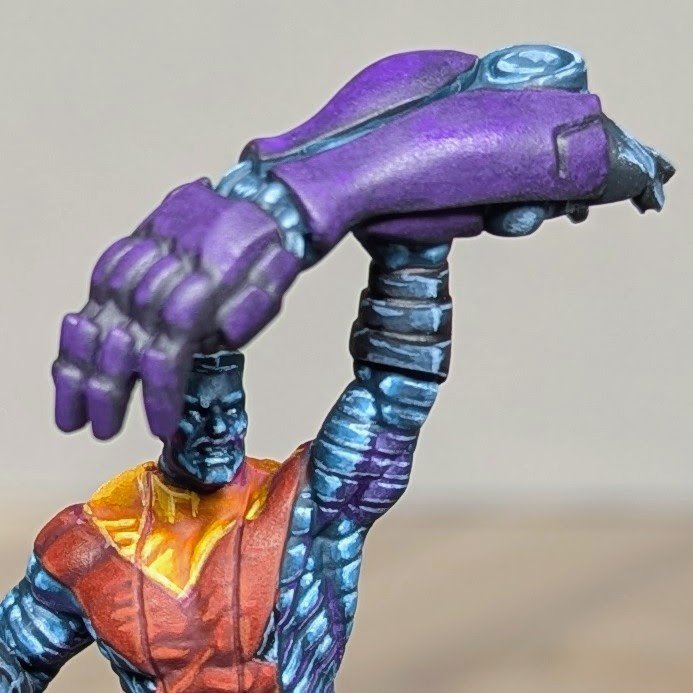
For the rest of the Sentinel arm and the head down on the base, I began highlighting with pure Royal Purple.
b4
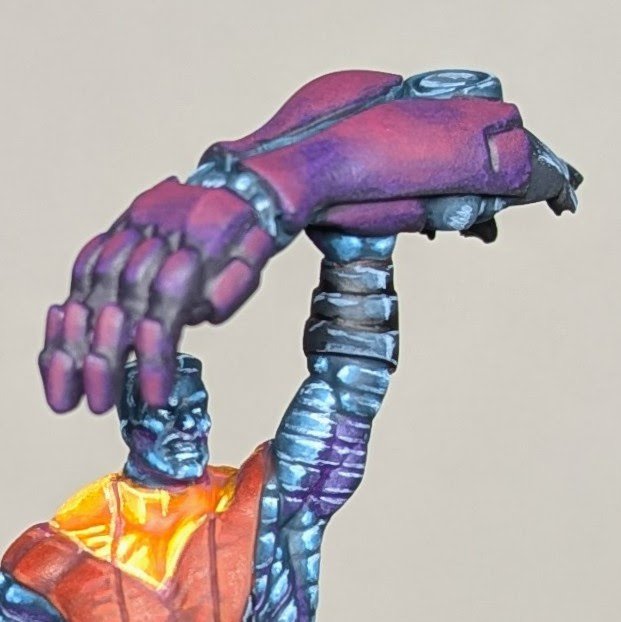
I kept highlighting up through Royal Purple to Screamer Pink.
b5
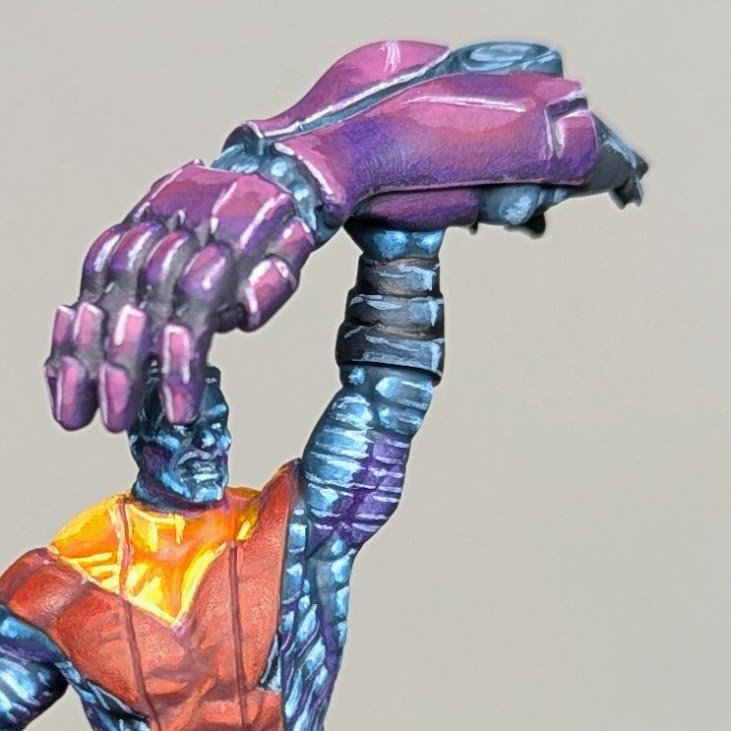
Finally, the Sentinel parts got an edge highlight of Ice Yellow.
b6
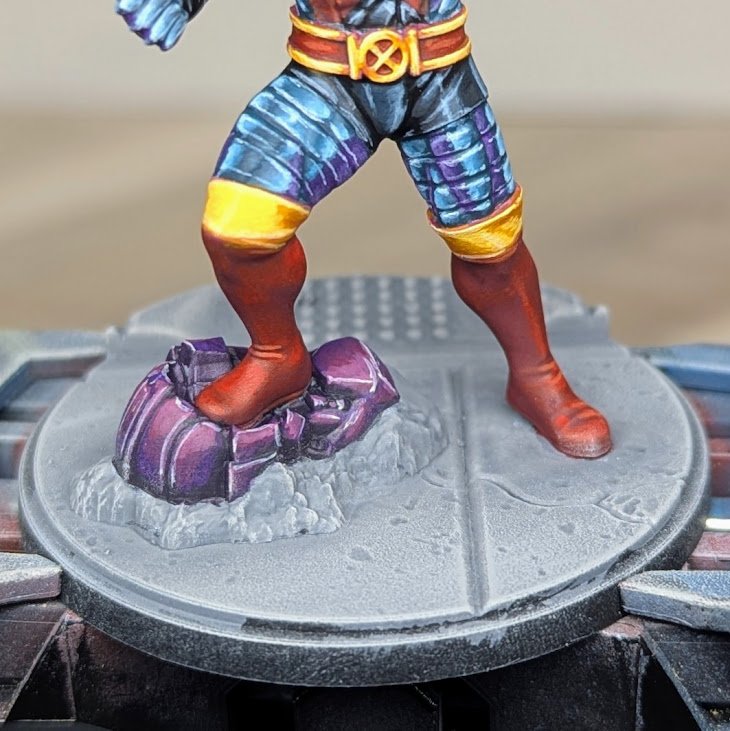
I then gave the base a quick drybrush of pure Stonewall Grey …
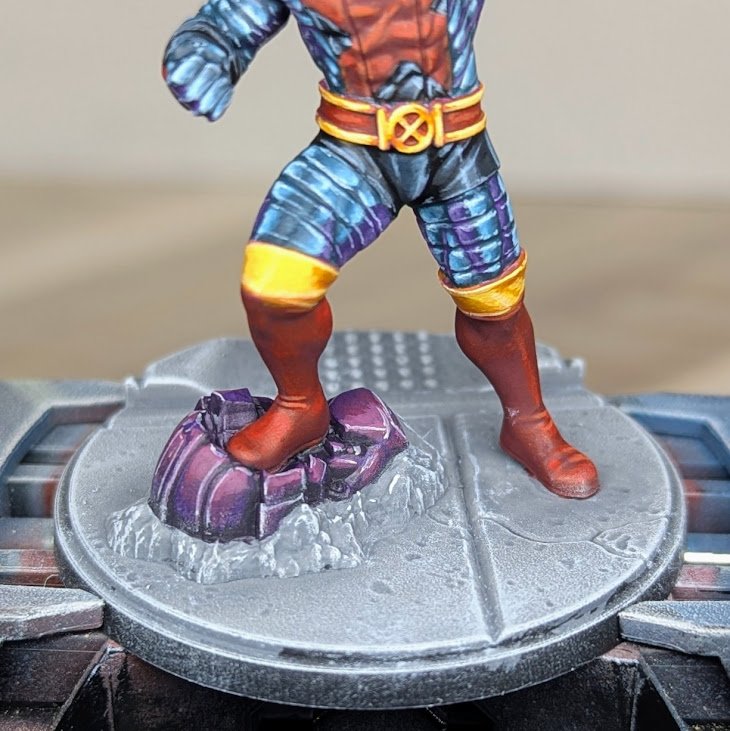
b7
… then a much lighter drybrush of Corax White.
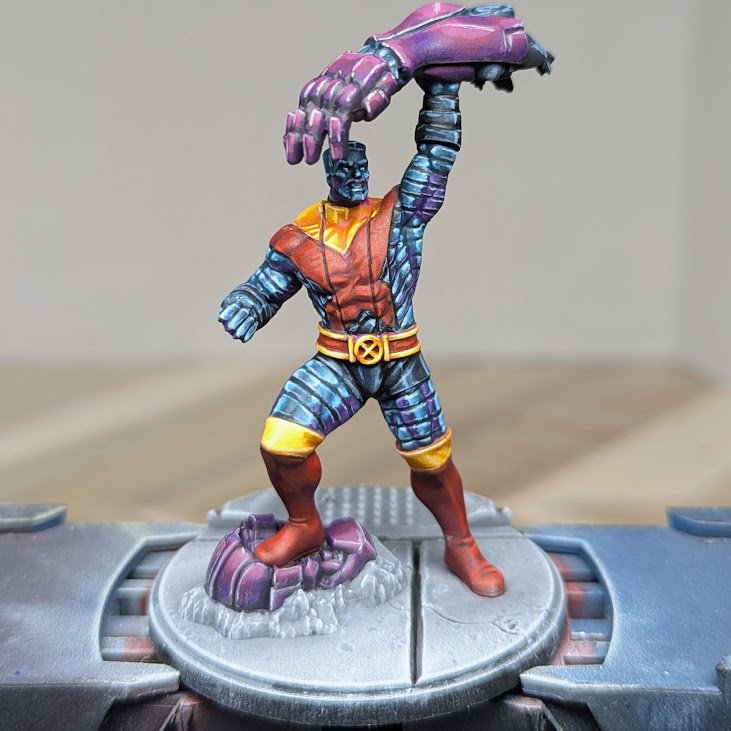
b8
To finish the mode, I painted some Hospitaller Black directly into the deepest recesses of each area of the model.
c9
From there, I started highlighting the black areas with a mix of Abaddon Black and Turquoise.
c10
To finish off the black areas, I went with an edge highlight of Fenrisian Grey.